Belgian Cheese Making at Home: Step-by-Step Artisan Guide
Ever wondered what transforms a simple block of milk into those sublime, gorgeously nuanced cheeses at your favorite Belgian market? The quest for truly gourmet, homemade artisanal cheese isn’t just a kitchen adventure, it’s a cultural journey—and honestly, a bit of a wild ride. Years ago, I barely realised Belgium had a serious cheese game—now, after dozens of batches and a heap of very non-photogenic curds, I’m genuinely obsessed. So, whether you’re a novice craving your first tangy soft cheese or a seasoned food explorer searching for that authentic Belgian touch, this guide will walk you through spring cows, centuries-old methods, delicate flavors, and every crucial (sometimes messy) step along the way.
Belgian Cheese Culture: Past & Present
Let me get a bit nerdy for a sec—Belgian cheese is more than just a food; it’s an emblem of regional pride, evolving family traditions, and (sometimes) a sly rebellion against neighboring culinary heavyweights. Just last year, I wandered the winding lanes of Dinant and found an unsung local cheese—still made by hand, reveling in wild, grassy notes you’d never taste in a mass-market Brie.
Many of Belgium’s best cheeses come from small villages where cheesemaking stretches back centuries. Unlike traditional French rules, artisans here treat every batch as its own experiment, often using raw, unpasteurized milk from heritage cattle—the classic Pie Rouge de Wallonie, for instance. This gives each cheese an eccentric, sometimes surprising profile, influenced by local microflora, climate, and even the wood of the aging shelves2.
Essential Home Cheese-Making Setup
Before you ever add a starter to the milk, you’ll need a workspace that strikes a balance between sanitized and sensory. Here’s the truth—back in my early attempts, I missed half the setup details and ended up with some of the weirdest textures imaginable. So, how do you set yourself up for Belgian success?
- Non-reactive pots (think stainless, food-grade plastic, or ceramic)
- Accurate thermometer (digital wins for precision)
- Long-handled spoon, slotted for curd handling
- Fine cheesecloth or muslin (Belgian cloth is often looser weave for supple curds)
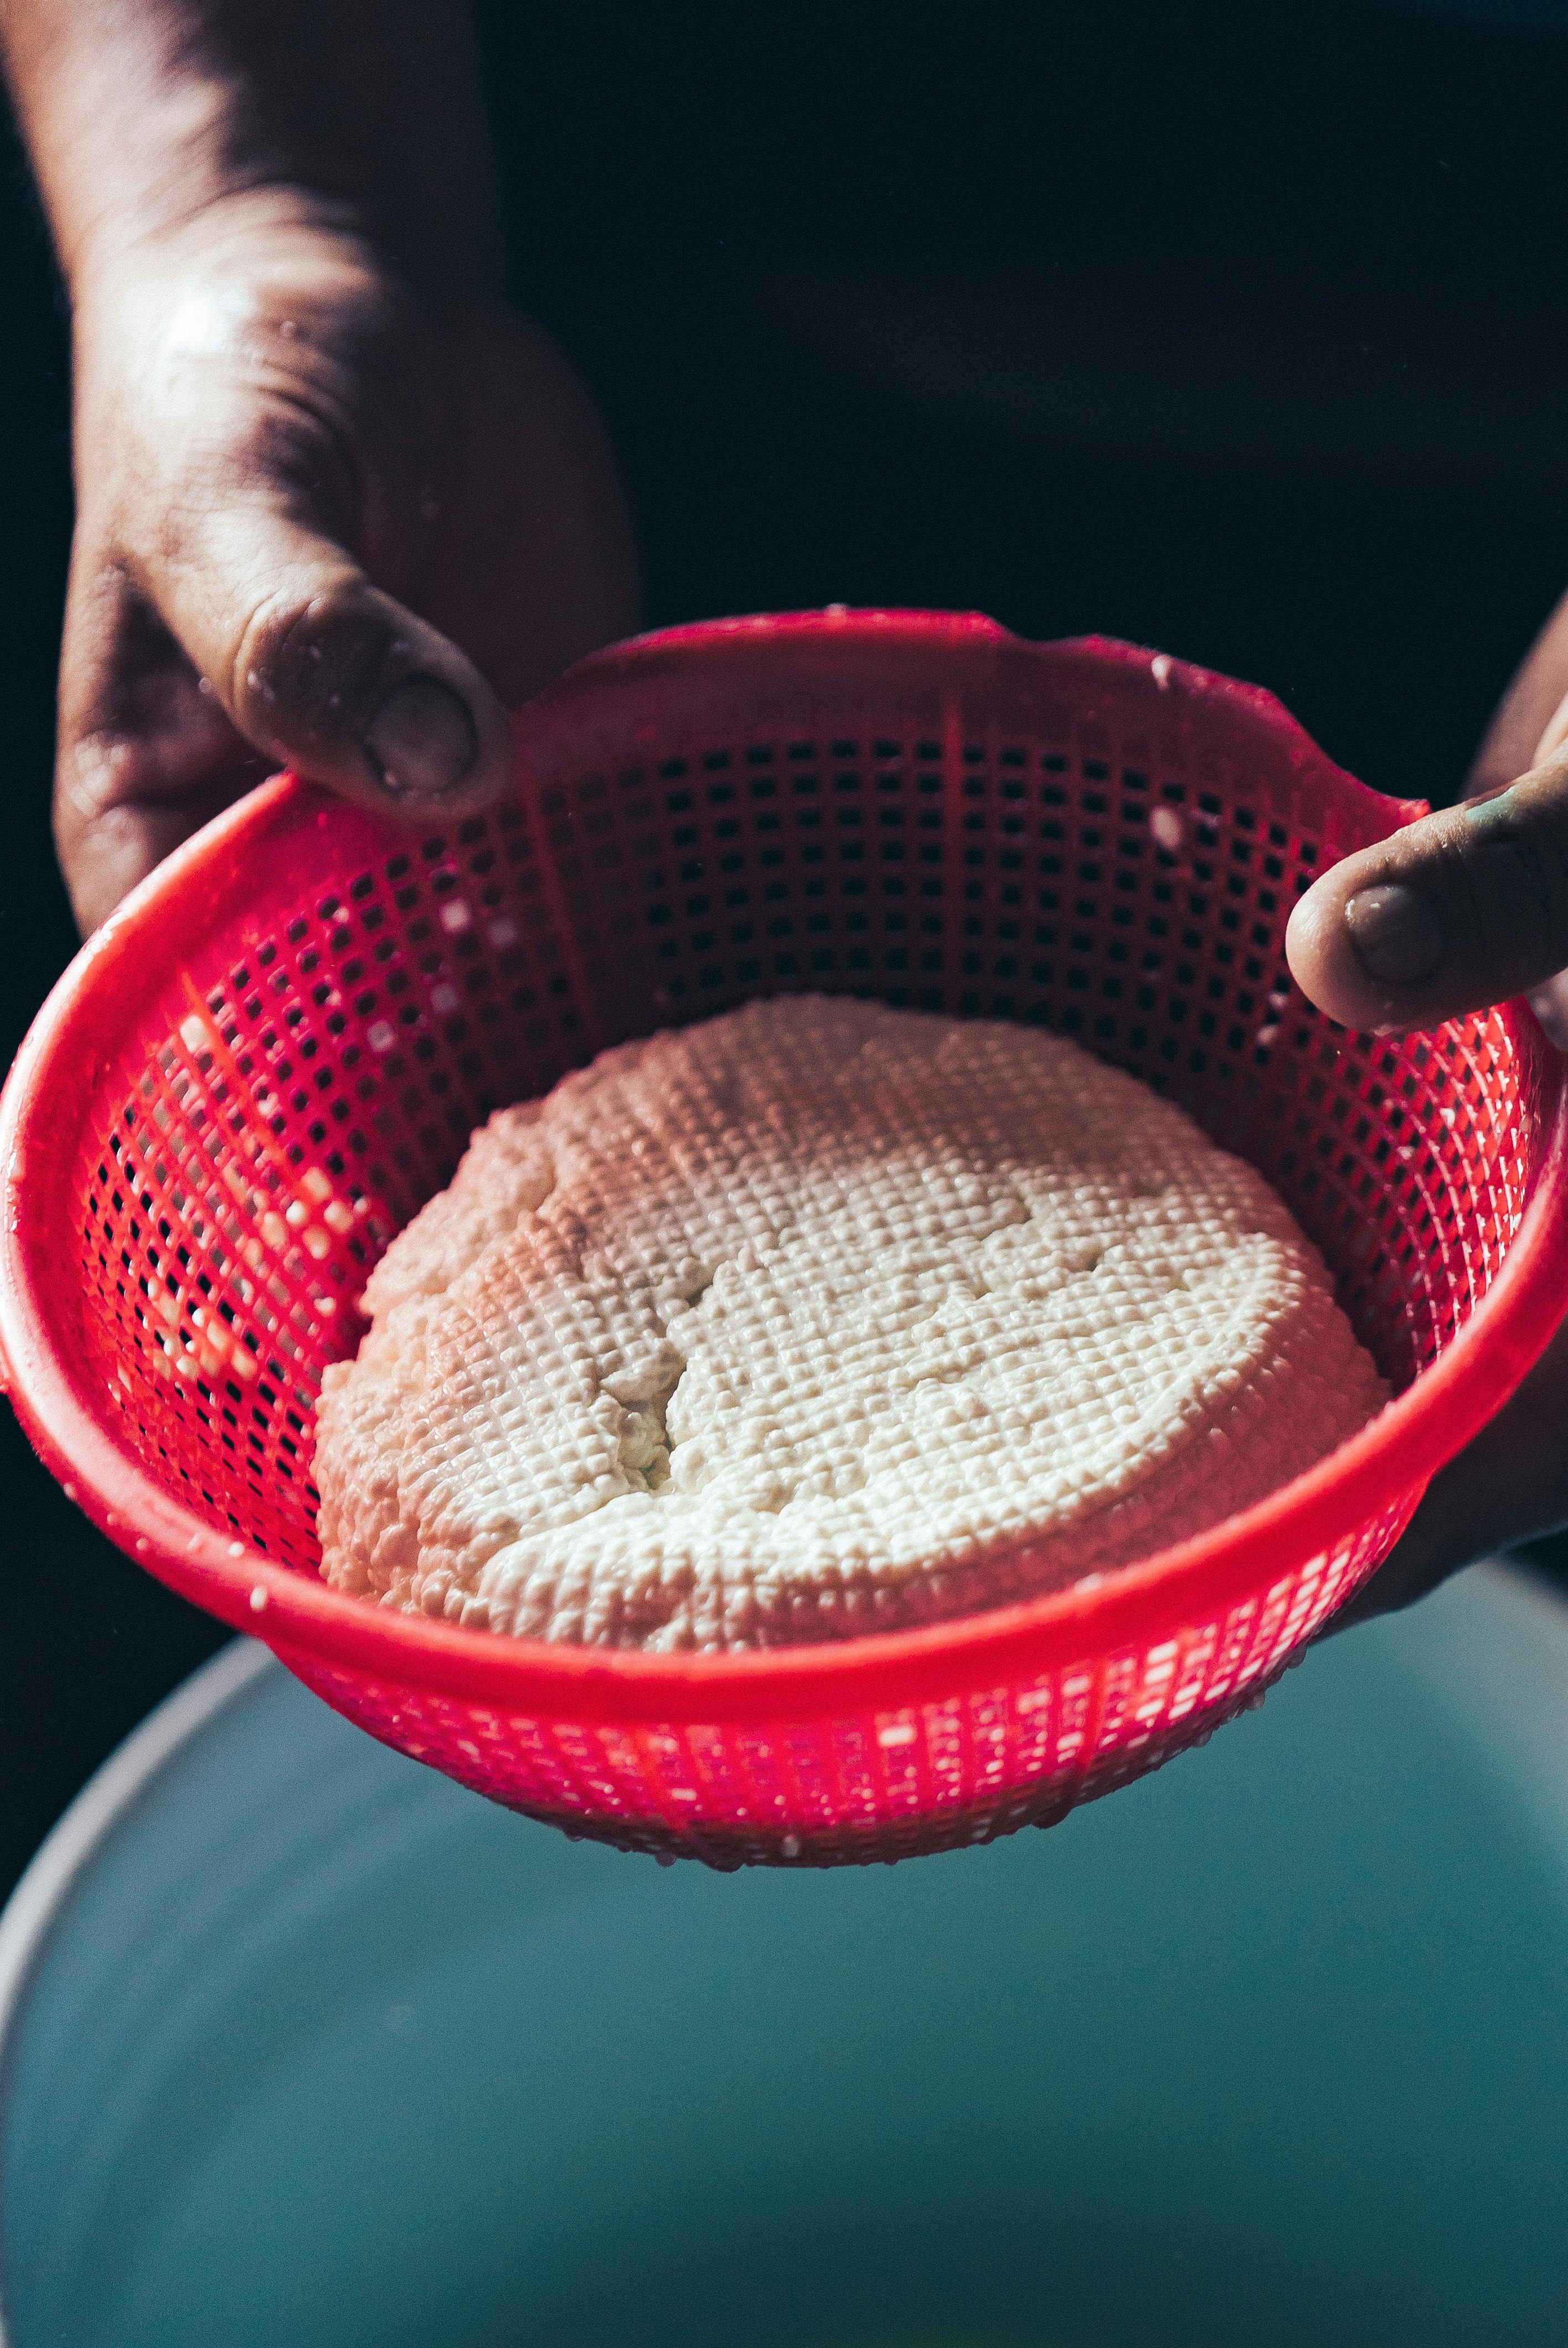
- Colander with gentle curves for drainage
- Food-safe molds (round for Chimay-style, square for Limburger echoes)
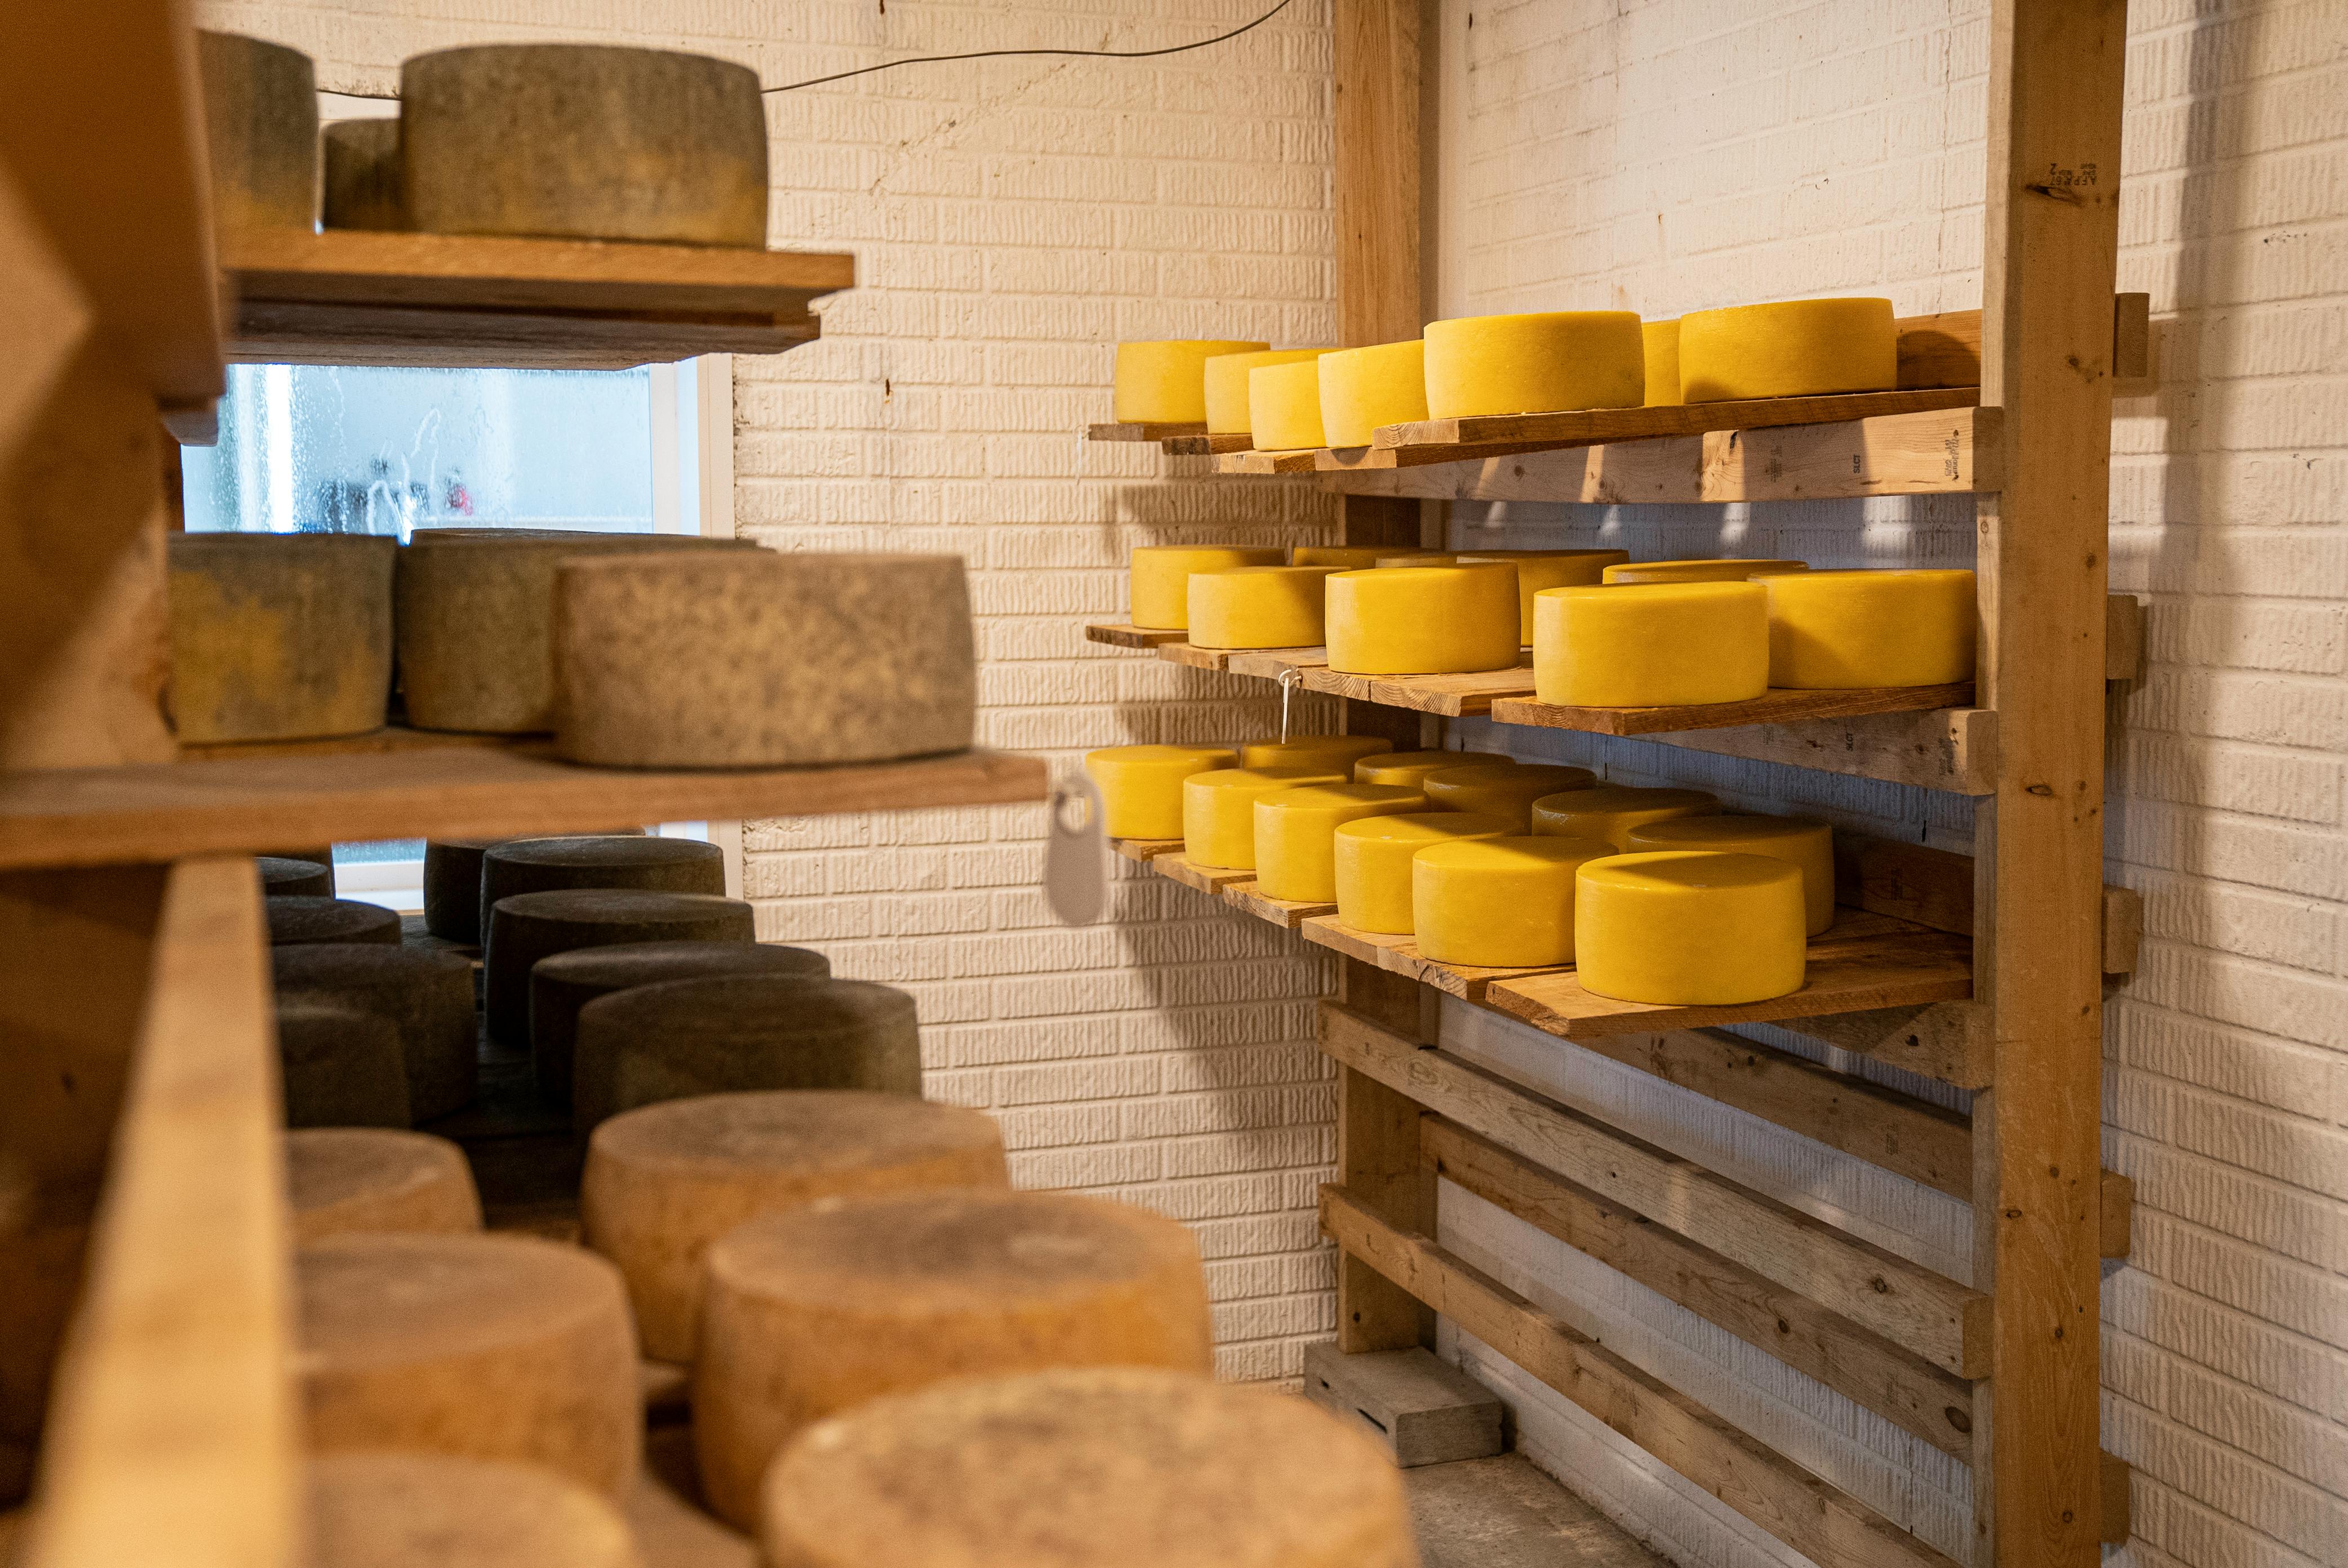
- Aging board: wood (untreated beech works well), glass, or plastic trays
- A fridge or cool cellar, ideally between 10-13°C (50-55°F)
- Spray bottle for brine and cleaning
And the ingredients? Here’s another Belgian twist: Milk quality is everything—opt for unhomogenized, fresh whole milk from a reputable local farm if possible. For authentically Belgian cheese, rennet must be natural (vegetable or animal-derived, ideally from local sources), both to honor tradition and deliver noticeably richer curds3. Most Belgian cheeses start with cultures you can source online (look for “mesophilic” for soft cheeses, “thermophilic” for harder types).
Step-by-Step Artisanal Method: Belgian Fundamentals
Okay—let’s pause. Ready to dive in but feeling like the details might crowd your confidence? Fair. I’ve fumbled a ton before finally building my own stepwise method. What follows is a foundation—something you can riff on, build flavor, make mistakes, and create something gloriously Belgian.
- Sanitize every tool (boil, then cool—don’t skip this!)
- Warm milk to 32-34°C (90-93°F); use gentle heat for even texture
- Add starter culture, stir: 1-2 minutes, blend gently
- Hold at temp, covered, for 45 minutes (develops flavor complexity)
- Add rennet, stir, let set until curd forms (30-60 minutes, test with a clean finger)
- Cut curd into 1cm cubes for soft cheese, 1.5cm for harder
- Gently stir and cook at low temp for 30 minutes to build curd structure
- Drain off whey, save some for brining
- Mold curds, pressing gently; flip halfway for even shape
- Salt or brine bath (Belgian method: often a lighter, quicker brine)
Let’s breathe for a second—this is only the start, and the true Belgian flavor begins in the next stage: aging, curing, and hands-on flavor development.
Aging and Curing, Belgian Style
Now, if I’m being entirely honest, the real magic of Belgian cheese hits during the aging process. Back in 2021, I tried to shortcut ripening (impatience never pays)—result: grainy texture, off flavors, and no true Belgian funk. If you want proper depth, embrace time, moisture, and the wild little bacteria native to Belgian terroir.
- Aging Time: Most Belgian soft cheeses need 4-8 weeks; harder types like Loo Maasdale can take 4-8 months.
- Humidity Control: Use a damp towel in your fridge/cellar—don’t let it touch the cheese directly.
- Rind Management: For washed-rind types (Herve, Limburger), lightly wash with brine or beer every 2-3 days. Belgian monks swear by Chimay beer for a unique nutty tang4.
- Mold: Don’t freak out—many Belgian cheeses require a natural fuzz. Just trim blue or green mold with a clean knife.
- Wild Flavors: Place cheese on wooden shelves—beech or ash wood adds mineral notes.
Ever notice how some Belgian cheeses smell like earthy countrieside or sweet meadows? Belgian cows graze on wild herbs—dandelion, clover, and yarrow—so their milk is richer, layered, and carries flavors you simply can’t fake5. The result? Cheese that tastes like place—bold, gently grassy, sometimes nutty, never generic.
Flavor Science: Building Belgian Cheese Profiles
Cheese flavor is part art, part science, and—confession—sometimes dumb luck. What really strikes me is how Belgian cheeses prioritize both creaminess and tang, with subtleties evolving as they age. Flavor reactions happen on a microbial scale: lactic acid bacteria transform milk sugars, surface yeasts add funky “Belgian barn” notes, and microflora from wood create those wild, herbal threads you smell in authentic local wheels.
| Belgian Cheese Type | Signature Flavor | Aging Method | Texture |
|---|---|---|---|
| Herve | Bold, fruity, barnyard | Washed rind (beer/brine) | Creamy, sticky |
| Passendale | Nutty, rich, slightly sweet | Pressed, aged on wood | Semi-hard |
| Bleu de Chimay | Spicy blue, peppery, tangy | Roquefort-style cave aging | Crumbly, moist |
| Limburger | Pungent, earthy, creamy | Washed, raw milk | Smooth, soft |
According to “Cheese ripening doesn’t just change taste—it builds identity. Belgian cheesemakers coax subtlety from chaos.”
What I should have mentioned sooner is just how much temperature swings and humidity hiccups affect final flavor. I go back and forth on techniques—some experts claim a sealed plastic box works, but I’ve always found a wooden aging rack (with open airflow) gives you that classic Belgian rind, nutty aroma, and wild-flower tang.
Troubleshooting & Pro Tips
Ready for some real talk? You will make mistakes. I have, industry pros do, even lifelong Belgian cheesemakers admit it. My first Herve batch turned into a lemony yogurt; my Limburger once smelled like gym socks left in the sun. Let’s break down both blunders and quick fixes:
- Curds too soft: Check milk temp—must be 32-34°C before rennet
- No curd formation: Try a fresh culture, check water purity (chlorine kills cultures)
- Texture too grainy: Don’t over-stir. Gentle is best; let curds form naturally
- Off-flavors: Use only fresh, local milk and clean all equipment obsessively
- Rind grows black mold: Trim, rinse with salt brine, dry, and keep aging area clean
- Too bland: Age longer, or use raw milk for deeper flavor
Pro tip: Flip your cheeses every day, and gently pat dry to prevent “wet feet.” Sign of true Belgian craft? A complex aroma that smells like wild meadows, not refrigerator funk.

Serving, Pairings & Preservation
I used to simply slice Belgian cheese onto crackers and call it a day. But after a couple trips to Namur and frankly, some embarrassing pairing fails, I realised how much elevating the right cheese with local accompaniments can transform an entire meal. What excites me most? Belgian cheeses love beer pairings—robust Trappist ales, sharp sour lambics—and they also play surprisingly well with fruit preserves, artisanal breads, and rustic charcuterie.
- Herve pairs with dark rye and sour-crusted bread, plus a malty Rochefort 8
- Passendale slices sing alongside juicy, ripe pears and witbier
- Bleu de Chimay crumbles perfectly over fresh Belgian endive with honey drizzle
- Limburger is legendary on warm potato galettes, topped with chives
Preserving homemade Belgian cheese isn’t just a technical step; it’s a matter of keeping complex flavors alive. Proper refrigeration, wax, and vacuum sealing give cheese months of life, but authentic Belgian aging—a gentle air-cure in a cool spot—builds character.
Five-Step Belgian Cheese Preservation Process
- Let cheese air-dry in a cool, humid cellar (10-15°C) for 1-3 days after molding
- Apply light brine/salt wash every other day to build rind
- Wrap in cheese paper or wax for softer types; harder cheeses can go bare
- For longer storage, vacuum seal or wrap in wax (adds 2-3 months shelf life)
- Keep each cheese separate—aromas are contagious!
Honestly, preservation remains a point of ongoing learning for me. Some years, I’ve had perfect texture and still lost flavor depth from over-waxing; other seasons, a simple cheesecloth wrap delivered wild, earthy punches that tasted more “Belgian abbey” than anything from a store.
Belgian Cheese in Modern Cuisine
Remember those viral Instagram photos of gooey Belgian cheese over grilled bread? Modern chefs have started taking classic flavors (Passendale in soufflés; Herve on flatbreads) and layering them into gourmet creations. A chef I know in Brussels claims adding wild Belgian cheese to risotto creates a depth “no Italian rice can match.” What’s more, home cooks actively swap cheese techniques across genres—a kind of culinary fusion that wouldn’t have flown forty years ago.
Belgian Cheese Pairing Table
| Cheese | Beer Pairing | Bread/Fruit | Best Season |
|---|---|---|---|
| Herve | Rochefort 8 | Sour rye/fig compote | Spring |
| Passendale | Witbier | Pear slices/walnuts | Winter |
| Bleu de Chimay | Lambic | Belgian endive/honey | Autumn |
| Limburger | Brown Trappist | Warm galettes/chives | Summer |
What I’ve learned is that Belgian cheese making, when done at home, connects you to a living, evolving culinary landscape. Sometimes the flavor surprises you; sometimes traditions shift. I still get excited swapping tips with Belgian friends who swear their grandmothers aged cheese in cabbage leaves—and every time, the journey tastes a little different.
Final Thoughts: The Real Joy of Belgian Cheese Making
If you take nothing else from this guide, let it be this—authentic, homemade Belgian cheese is about process and passion as much as product. What really excites me, after years of learning and lots of humility, is how every batch is an adventure. Sometimes you’ll create a creamy marvel that rivals Brussels’ best markets; other times your cheese will teach you patience, or even humility, in the face of funk. Belgian cheese making is honestly addictive—and whether your kitchen is a city flat or a rural farmstead, there’s always a new flavor profile or age-old tradition to explore.
Let that sink in. Home cheese making, Belgian or otherwise, isn’t an isolated skill—it’s a doorway into community, history, and culinary innovation. I’m still learning, and I suspect you will too. Taste, adjust, experiment; keep seeking out new Belgian tips and tricks, and savor the journey. The more you make, the more you understand: cheese isn’t just food—it’s a living memory stewarded by your hands.
Common Questions About Homemade Belgian Cheese
- Can I use supermarket milk? Yes, but local farm-fresh milk is better for flavor and authenticity.
- Do I need specialty cultures? For true Belgian flavor, yes—order mesophilic and thermophilic cultures for variety.
- What about vegan cheese? You can make cashew or almond-based Belgian-style cheeses—use microbial rennet and play with flavors like wild herbs.
- How do I avoid off flavors? Sanitize everything, track each batch, and don’t rush the aging.
References & Further Reading


