Master Dutch Cheese at Home: Top Sustainable Secrets from Dutch Pros
If you’ve ever stood in a Dutch market, nose full of the grassy tang of Gouda or the gentle earthiness of aged Edam, you know that “real” Dutch cheese is an emotional experience as much as a culinary one. I remember the first time I visited a sheep farm near Alkmaar — brisk coastal wind in my face, fresh curd at my fingertips. Every sense engaged. But here’s what struck me most: the locals weren’t just obsessed with flavor, but fiercely protective of the centuries-old sustainability traditions behind every creamy wheel. I’ll be honest, bringing that magic into my own home kitchen was daunting at first. “Am I out of my depth?” I wondered, hands deep in a clumpy first batch of curds, worried my efforts would just flop. Sound familiar? If so, you’re not alone. What I’ll share here is hard-won wisdom straight from Dutch cheesemakers, paired with my own experiments and mistakes, so you can skip the confusion and master the art of sustainable cheese production in your own kitchen — no matter your starting point.
Why Dutch Cheese? Culture, Science, and Sustainability Roots
Let’s address the big, clunky wheel on the table: why does Dutch cheese taste so singular, and why does it matter so much to both locals and food pros worldwide? For starters, the Dutch cheese tradition isn’t just about flavor — it’s about a way of life meticulously tied to land stewardship, animal welfare, and smart use of resources. The Netherlands, despite its compact size, is the world’s second-largest agricultural exporter1. And cheese? It’s their edible national anthem.
Here’s what really fascinates me: Dutch cheese isn’t static. It’s changed over centuries, blending monastic traditions with scientific progress and relentless weather (if you haven’t experienced Dutch rain, you’re missing out). Through it all, sustainability wasn’t a buzzword but a reality born of necessity. The famous green fields? Maintained using ancient peat and polder methods, and recently enhanced with bio-diverse planting to regenerate soil2.
That attention to detail shows up in every slice of aged Beemster or nutty Leyden. Professional cheesemakers I’ve shadowed often say, “Making cheese is easy, but making Dutch cheese is about respecting every step — from cow to cave,” echoing wisdom passed down for generations. As a visitor and experimenter, I’ve learned not to shortcut the process (trust me, my “quick-whey” hacks always backfired). Patience, observation, and — above all — respect for the cycle of land and animal are central. That’s the Dutch secret most blogs ignore.
True Dutch cheese isn’t just a recipe — it’s a system. Modern professionals blend tradition, industrial food-safety, and eco-principles unique to the Netherlands. This is something I didn’t really appreciate until I met farmers mixing centuries-old rennet methods with today’s strict environmental standards and digital tracking. That mash-up? It’s what makes Dutch cheese truly global and enduring.3
Expert Secrets: Dutch Professional Techniques Demystified
Here’s what no box kit or “quick video” ever tells you about traditional Dutch cheese:
- Temperature precision matters more than recipe — pro cheesemakers use digital thermometers, logging every half degree
- Local raw milk is preferred, but controlled pasteurization is a growing necessity for home producers
- Climate control for aging isn’t a luxury: professionals adapt humidity and airflow with remarkable care (sometimes inside converted basements or urban “cheese hotels”)
- Washing and turning are not skipped chores: they’re what shortlist a cheese for championship, even at home level
- Salt isn’t just seasoning; it’s a science regulating texture, preservation, and even eco-footprint (Dutch pros increasingly use solar-evaporated sea salt)
What strikes me most, year after year, is how pros in the Netherlands adapt — blending classic know-how with new sustainability mandates. And they’re refreshingly candid. During one tour with a master affineur in Gouda, I asked, “How do you avoid mistakes?” She just laughed, “You don’t. You just learn faster from them.” That attitude? Essential for home cheesemakers looking to *really* taste the Netherlands wherever they live.
Personal sidenote: My last visit to Alkmaar’s cheese market (2019) started with rain, ended with sun, and featured the best 12-month Gouda I’ve ever tasted. Don’t rush those samples!
Building Sustainability: Eco-Smart Home Cheesemaking Start-Up
I’ll be honest — when I first looked into making cheese “the Dutch way” at home, the prospect seemed expensive, complicated, and a bit intimidating. But the reality, once you demystify it, is surprisingly accessible and environmentally positive, if you approach it right. One thing Dutch professionals emphasize (and I wish I’d known earlier): sustainability isn’t just about buying organic milk — it’s about minimizing waste, harnessing local resources, and learning from past missteps.
“True sustainability in cheesemaking is about balance: if you chase perfection but waste curd or overheat your batch, you’re missing the point,” shares Pieter Kramer, a veteran cheesemaker from Friesland. The Dutch model? Relentless eco-inventiveness — reclaiming whey, reusing molds, and adapting batch size to your family’s real consumption.5
Let’s cut through some jargon. Here’s a quick priority checklist every eco-minded home cheese ‘engineer’ should follow (and how many Dutch pros actually practice — not just preach — these habits):
- Choose local or certified sustainable milk: Dutch farmhouses use what’s at hand — grass-fed, low-impact, often from small co-ops. In North America or elsewhere? Seek dairies adopting pasture rotation, low-carbon transport, and animal welfare standards.6
- Invest in reusable tools: Stainless steel pots, wooden molds (if you can source Dutch wood — even better), and coarse muslin (not disposable cheesecloth) are ideal. The pros in Edam rarely make a batch using throwaway plastic or synthetic tools — they just don’t last, and microplastic risk is a growing concern.7
- Repurpose whey: Don’t bin your by-product! In the Netherlands, whey is a hidden hero — for baking bread, feeding animals, or even home fermentation. Try blending it in smoothies or baking rustic Dutch pancakes (poffertjes). You’ll save money, and you’ll get one step closer to sustainable Dutch practice.
- Water and energy efficiency: Age-old Dutch barns have ingenious drainage, but at home? Save your water from cheese making (if un-salted) for the garden or houseplants, and use induction burners or low-energy setups to cut power drain.8
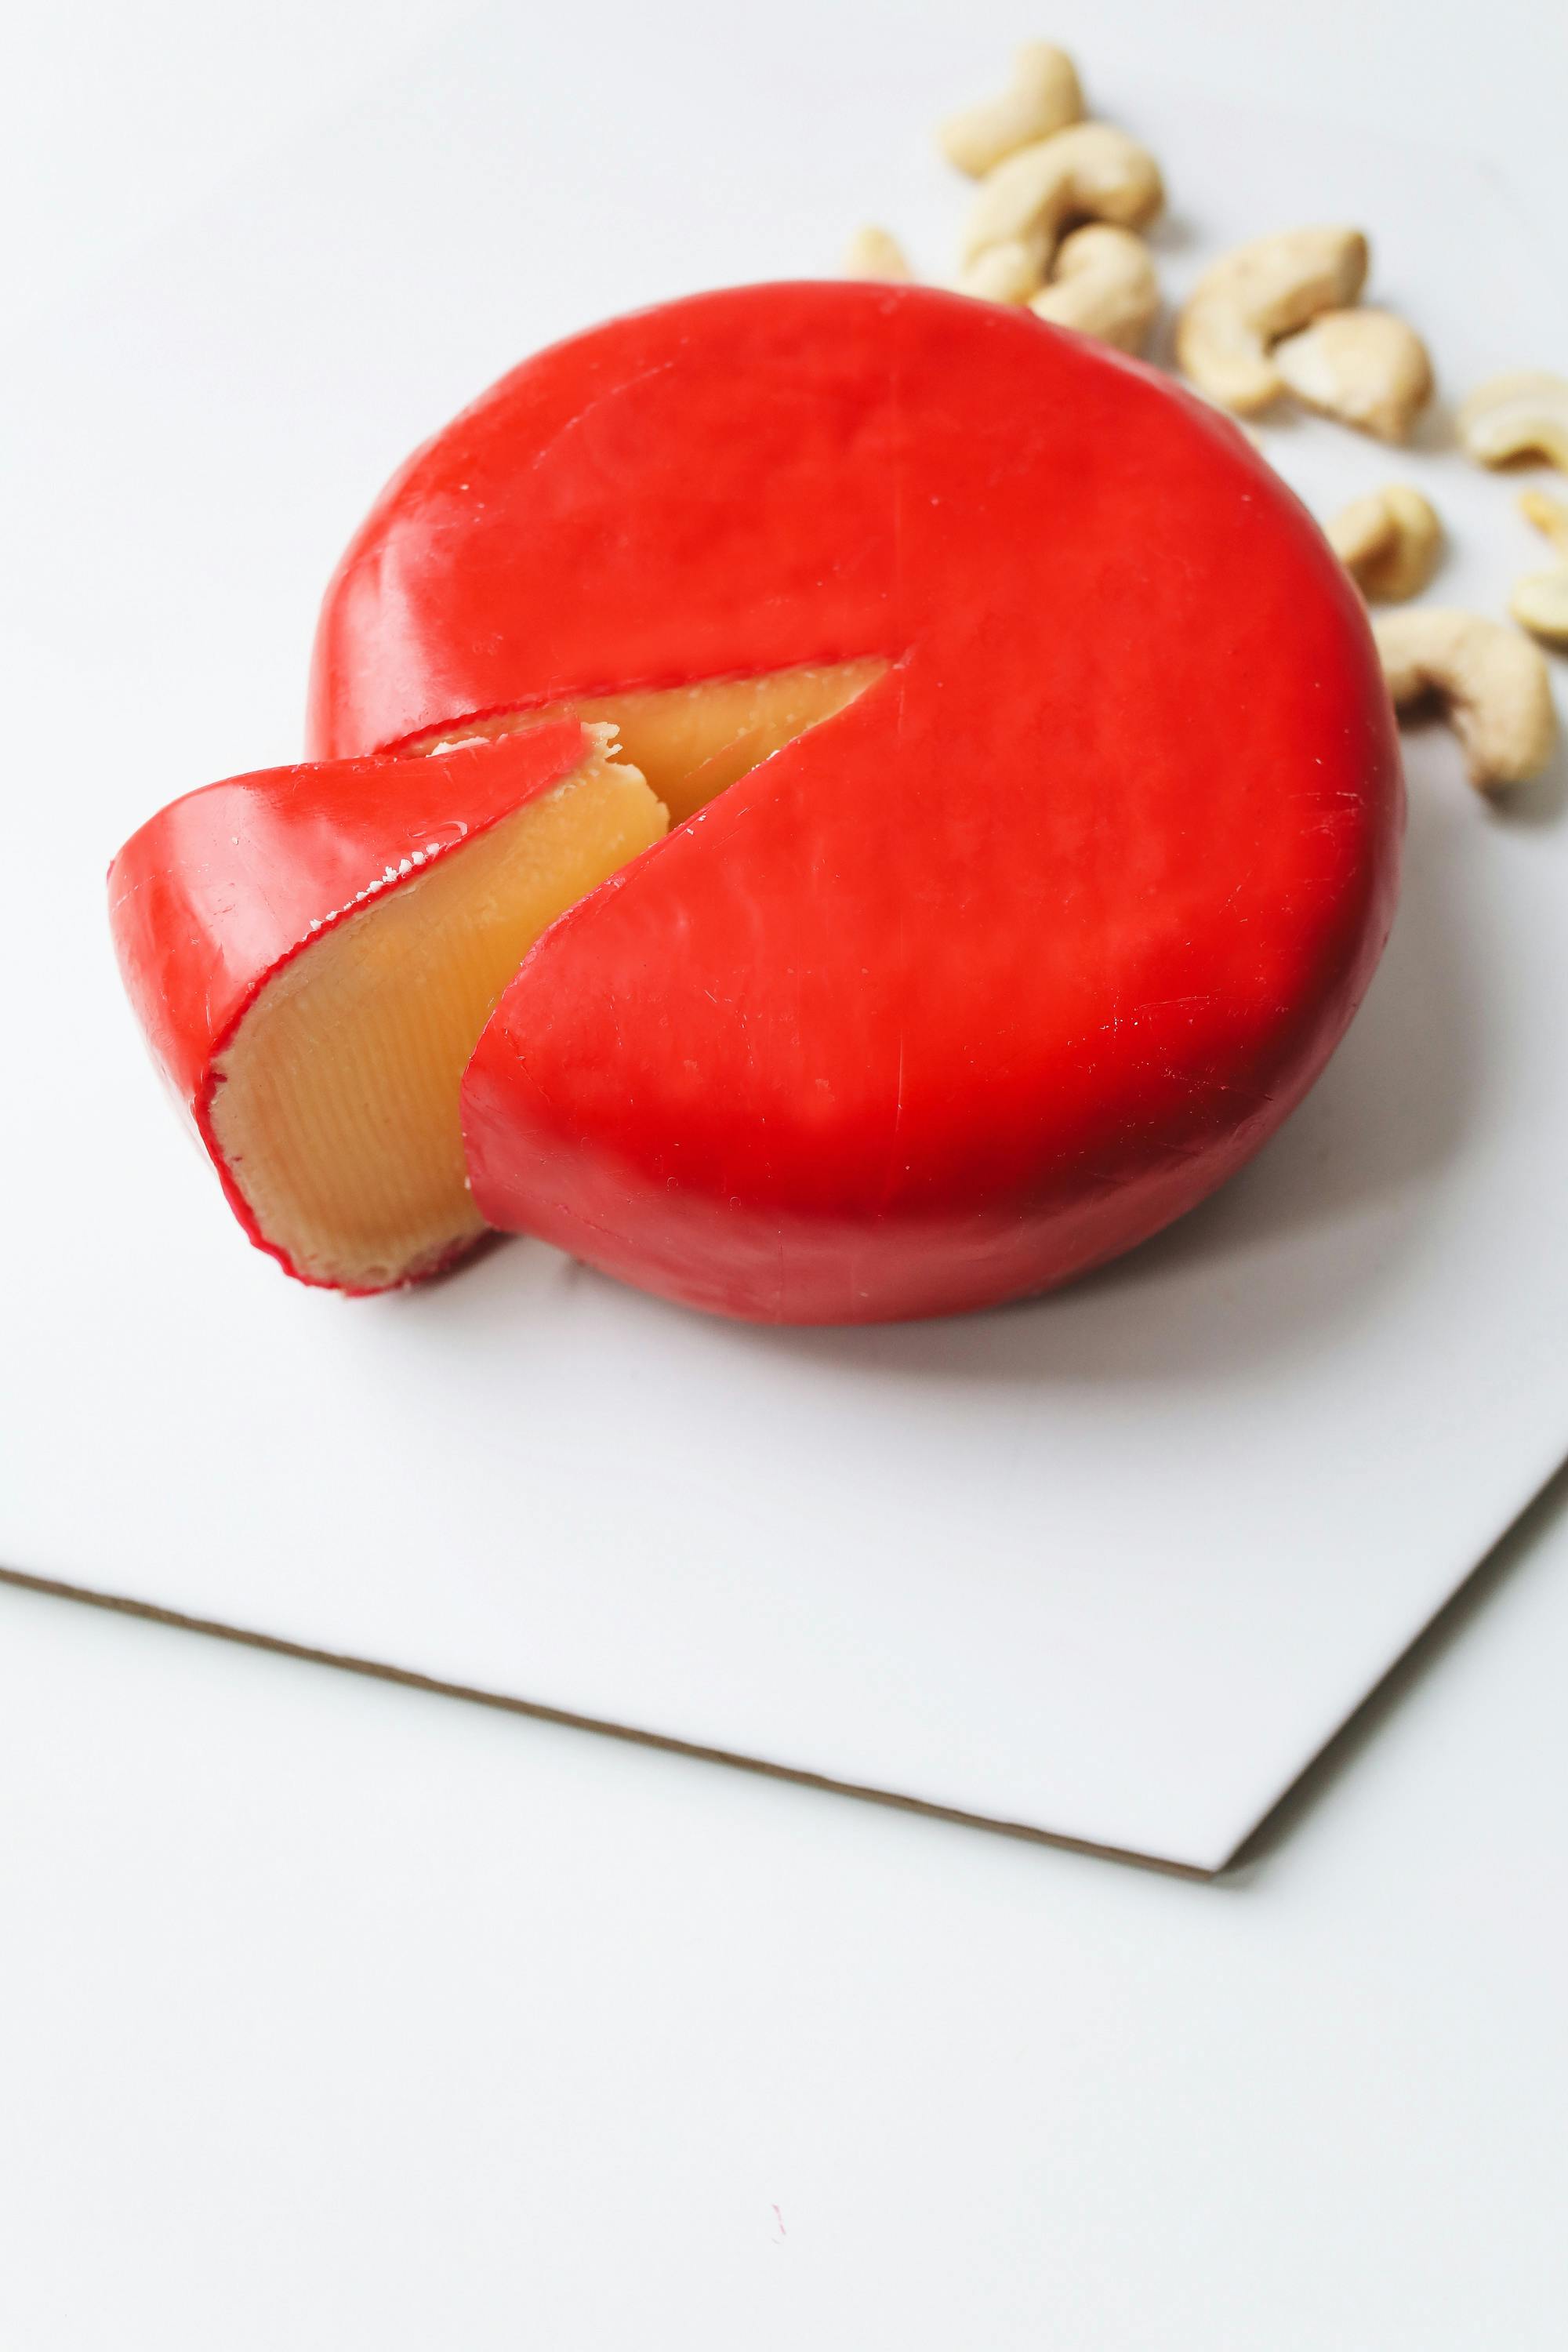
Ever wondered why Gouda wheels are traditionally round? It’s not just for style: it’s a design formed for even aging and easier transport — both markers of sustainability in a country where every bit of material and space historically mattered. That realization changed how I saw every step of the home process.
One more tip? Keep a “cheese log” — the Dutch pros I shadowed all meticulously track curd yields, aging humidity, even batch mood (“rushed” and “relaxed” are both notes I’ve seen!). These records reveal wasteful patterns and help you improve batch after batch.
Ingredient Guide: Milk to Microbes (and What Makes Dutch Milk ‘Dutch’)
Back when I started, I figured “milk is milk.” Turns out, no. Dutch professionals downright agonize over cow breed, pasture schedule, and even the microflora in their barns. What makes Dutch milk special — and thus gives rise to all those world-famous cheeses? Two things: grassy flavor from wet meadows Und rich seasonal diversity.9
If you want your home Gouda to taste “Dutch,” source grass-fed milk with a documented flock rotation or buy direct from micro-dairies that mimic the Dutch pasture system. I learned the hard way that “organic” doesn’t automatically mean good flavor — check for freshness and sustainable stewardship, not just a label.
| Bestandteil | Traditional Dutch Sourcing | Best Home Compromise | Warum es wichtig ist |
|---|---|---|---|
| Milk | Raw, grass-fed, often Friesian cow, spring/summer collection | Local dairy, grass-fed, full-fat, low-pasteurization | Authentic flavor, higher cream, better curd structure |
| Starter culture | Farm-fermented lactic cultures (sometimes wild-crafted) | Reputable culture packs (mesophilic blend preferred) | Ensures flavor complexity and reliable acidification |
| Rennet | Traditional animal rennet, some veggie rennet for export | Vegetarian rennet for flexibility, but test for coagulant strength | Directly impacts texture and aging reliability |
| Salt | Solar evaporated, often North Sea, added in brine bath | Natural fine sea salt (iodine-free recommended) | Seasoning, preservation & environmental impact |
What really puzzled me for ages: How do the Dutch get that signature nutty, butterscotch-touched flavor? Turns out, microbes and humidity matter as much as the cow. If you’re experimenting at home, don’t chase perfection — find a happy balance between the local and the traditional, and don’t be afraid to adjust batches as you learn.
Step-by-Step Home Dutch Cheese: Complete Process and Troubleshooting
I have to be honest, every home batch I’ve made has had some “character” — a polite word for mistakes you soon learn to love, Dutch-style. Dutch cheese pros often joke that even their first wheels looked more like “accidental modern sculpture” than cheese. Here’s a complete, real-world step-by-step curated both from professional best practice and my own messier reality:
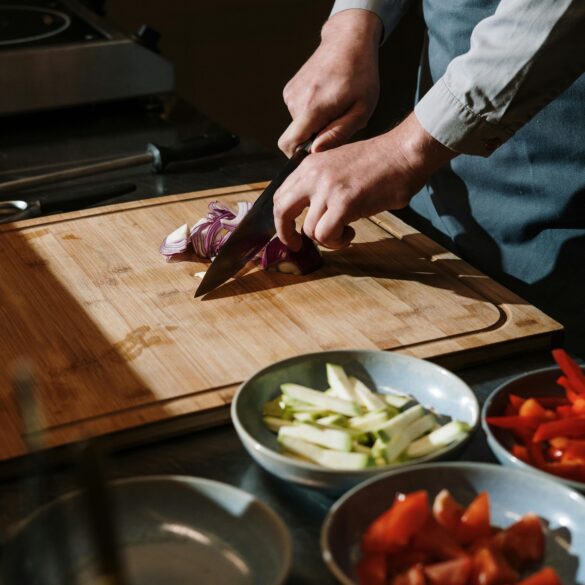
- Sanitize: Wash all equipment (pots, molds, stirrers). This is not negotiable — Dutch cheesemakers treat sanitation as sacred, especially post-2020.10
- Warm the Milk: Gently heat milk to 30°C (86°F). Professionals use digital thermometers, but honestly, I’ve had decent batches with an analog candy thermometer as long as I’m vigilant.
- Add Starter & Ripen: Stir in starter culture, hold temp, and let sit for 45-60 min. Important detail: Cover with a lid, not plastic wrap, to let the culture breathe — old Dutch barns do this naturally.
- Coagulate: Add rennet. Let set undisturbed for 40-50 min. Don’t freak out if it sets “softer” than expected — give it 10 more minutes, especially if your kitchen is chilly.
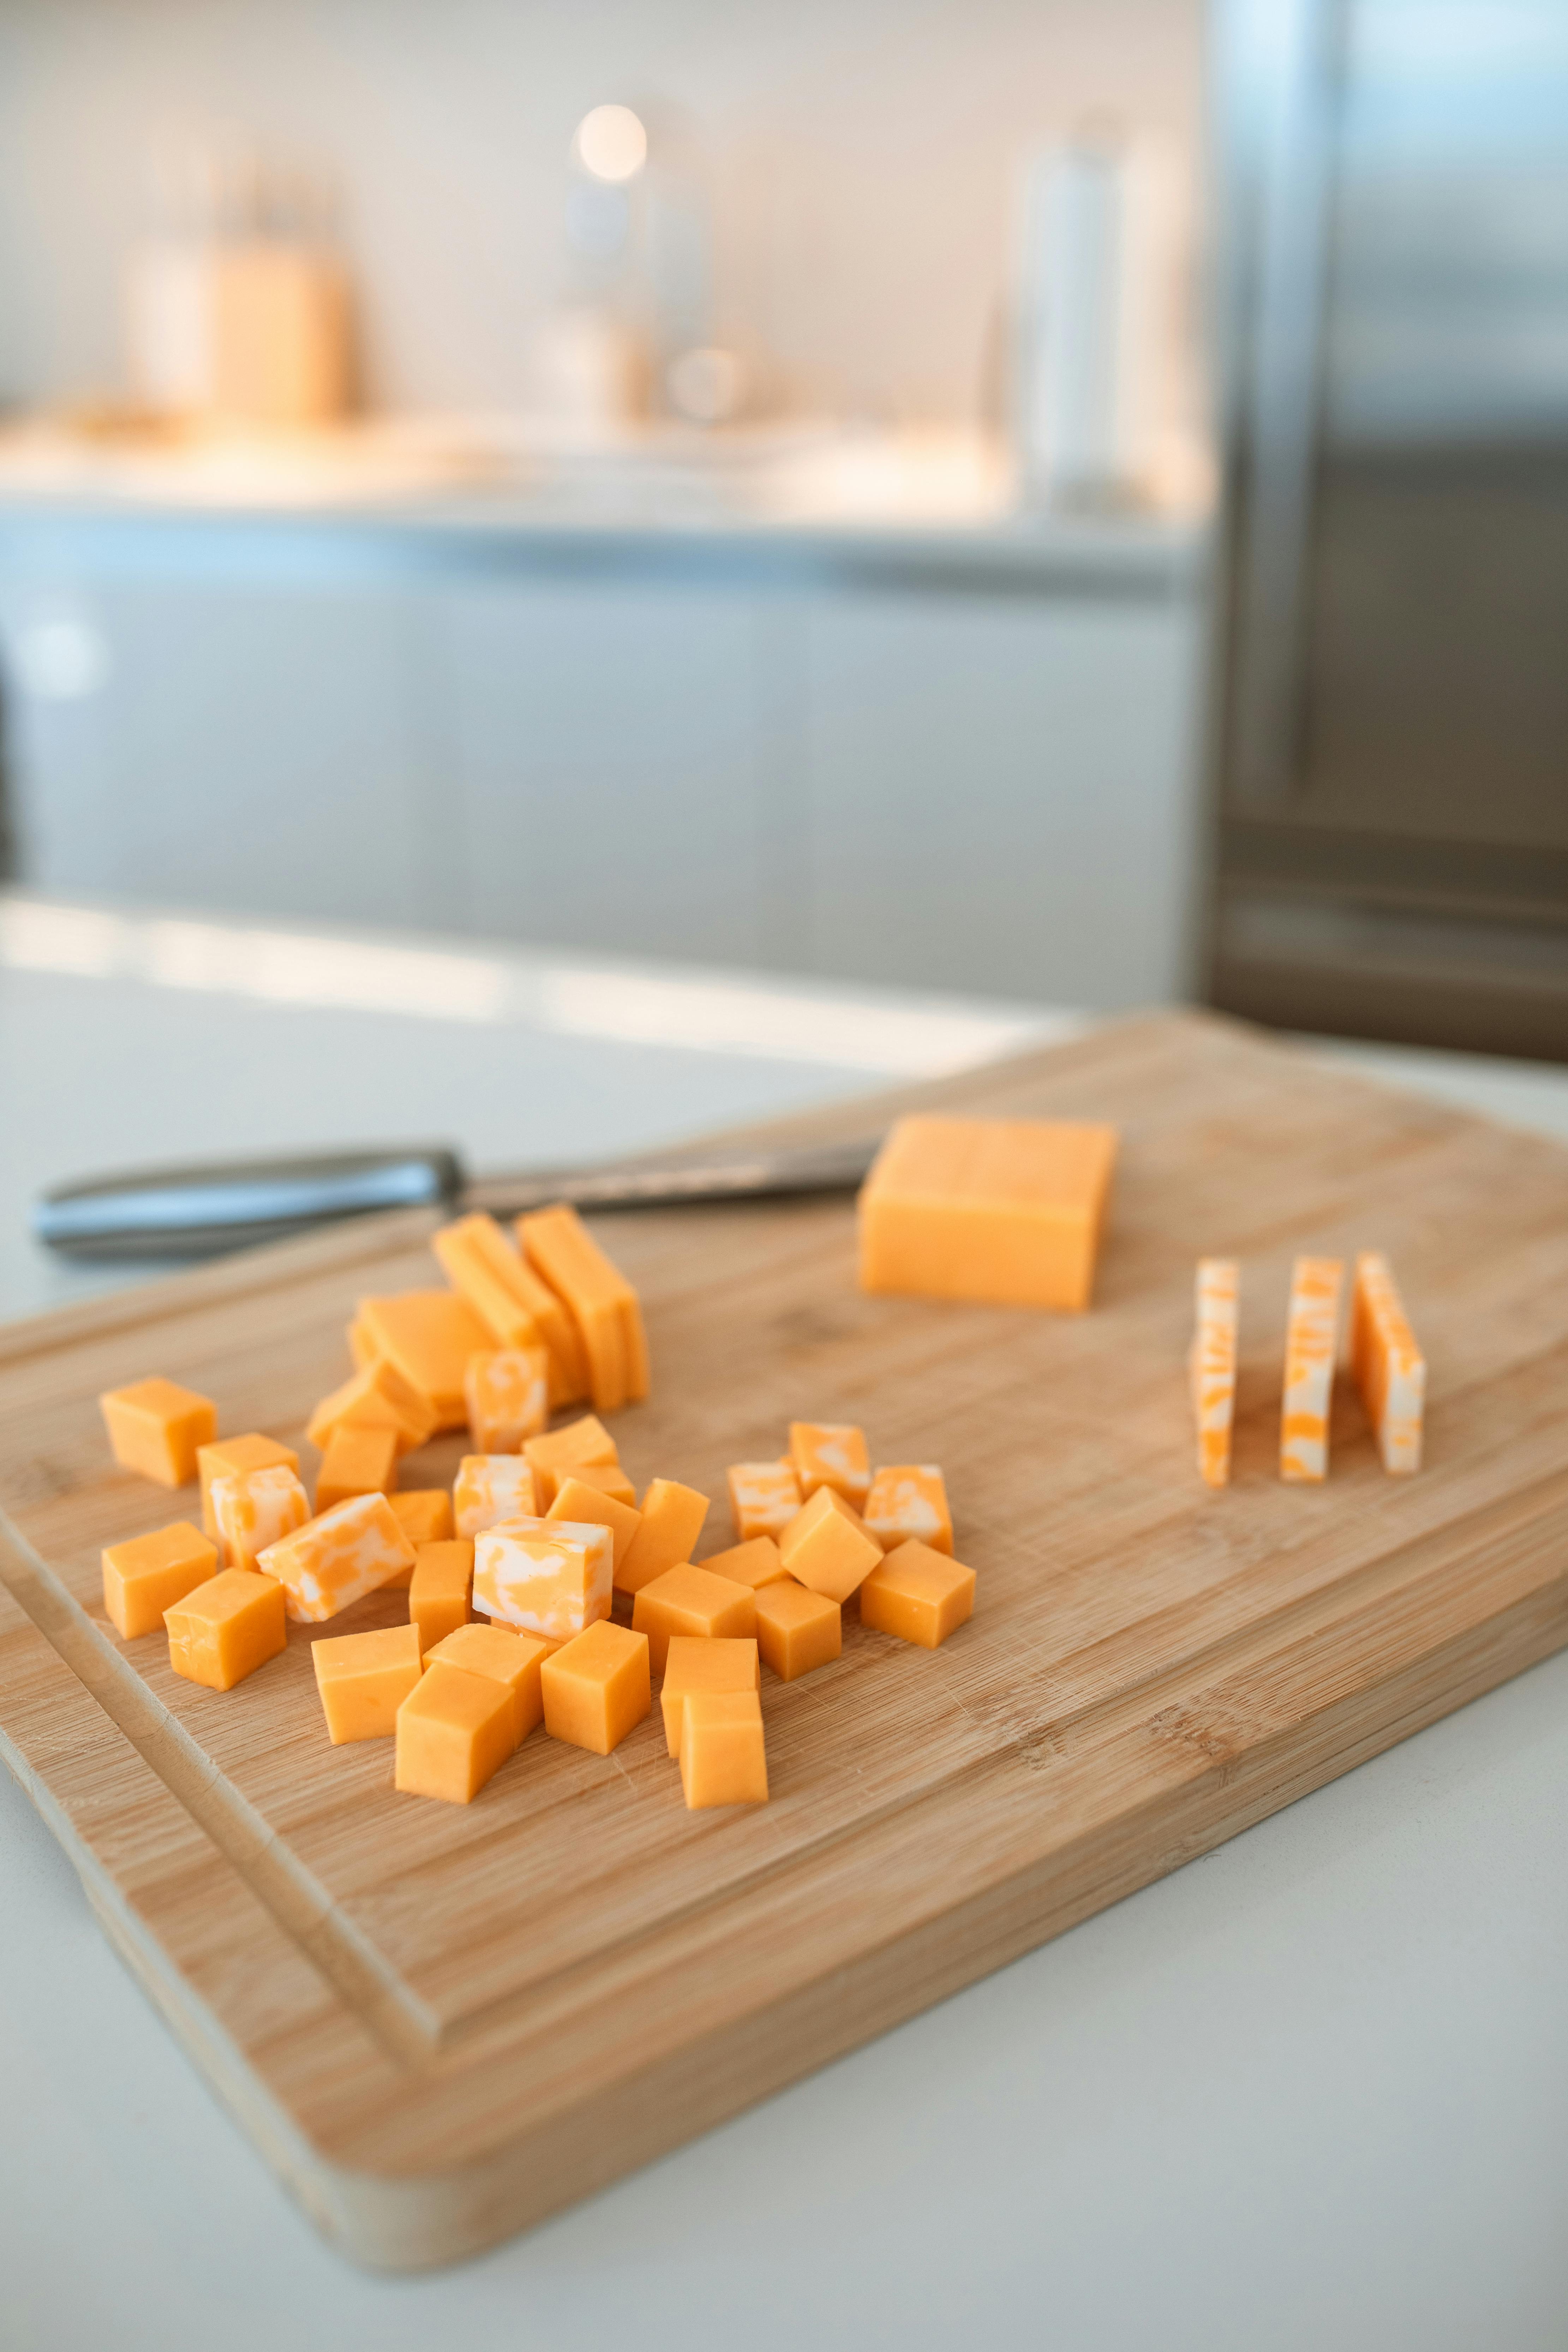
- Cut the Curd: Use a long blade or sanitized whisk to cut into 1cm cubes. The Dutch call for “grainy but glossy” curds; if you under- or overcut, don’t panic — just track the result in your log for next time.
- Cook, Stir & Wash: Heat slowly to 38°C (100°F) while stirring. Professional secret? Swap out a portion of whey for warm water — gives a creamier but firmer curd ideal for home aging. “Washed curd” is a classic Dutch move.
- Mold & Press: Ladle curds into lined mold, fold cloth over, and begin pressing gently. Add weight in stages (books work in a pinch!). Professionals use calibrated presses, but home improvisation is part of the fun.
- Brine Bath: Float your wheel in natural brine (sea salt, clean water) for 6-12 hours, turning a few times. Every Dutch cheesemaker has their own brine “recipe” — flavor develops here as much as in the cellar.
- Dry & Age: Air-dry cheese on a wooden board, turning daily. For young Dutch cheese, age 2-4 weeks in your fridge’s veggie crisper with breathable wrap; for true flavor, 2-12 months in a controlled environment (spare wine fridge or cellar if you have one).
- Record & Adapt: Log every observation, from taste and texture to ambient weather. Every “flaw” is a teaching moment — the Dutch keep meticulous notebooks for good reason.
| Issue | Ursache | Dutch Pro Solution | Persönliches Lernen |
|---|---|---|---|
| Rubbery texture | Overcooked curd/high temp | Lower cook temp, increase stirring time | I now use digital thermometer, with alarm at 36°C |
| Bitter aftertaste | Too much rennet/insufficient brining | Measure rennet carefully, don’t rush the brine step | Once, I doubled rennet “just in case” — disaster! |
| Mold on rind (blue/green patches) | Too much moisture, low air flow | Turn daily, monitor humidity | Cracked my window open; worked wonders |
| Dry, crumbly curd | Overheated milk, curd overcut | Cut into larger cubes, monitor temp more closely | Moved my operation away from sunny window |
Let these common mistakes be a comfort — even Dutch experts keep learning. I’ve tossed a few flopped wheels myself, but some “rejected” batches ended up topping salads or melting beautifully in casseroles. No wasted cheese, ever.
Ever notice how Dutch cheese always looks so perfect at the market, but your home version comes out quirky? Don’t sweat it — as many pros have told me, that’s part of the magic. Embrace the rough edges; next batch, you’re already one step closer to mastery.
Insider Tips: Curing, Aging, and the Elusive ‘Nederlands Smaak’
The biggest secret to getting that “can’t buy it outside the Netherlands” taste? It’s all in the curing and aging. Or, as one Wageningen milk scientist said to me, “aging is where Dutch cheese finds its soul.” Having made my peace with less-than-perfect humidity, I picked up the following pro-approved, totally home-friendly tips:
- Humidity is queen: Target 80-85%. Don’t have a cheese cave? Use a wine fridge or insert a bowl of salted water in your regular fridge, check often, and record fluctuations.
- Turn regularly: Flip your cheese every day for even aging and rind development. Inconsistent rotation, I learned, leads to lopsided wheels — not the end of the world, but not very Dutch either.
- Experiment with coatings: Some Dutch pros use beeswax, others prefer basic cheese wax for longer aging. I’ve lightly rubbed mine with olive oil — delivers a rustic, pliable rind.
- Taste by the season: The Dutch track flavor transformation across months, noting how summer milk yields sweeter, grassier cheese (my winter batches are more muted, still lovely).
One fantastic advanced home technique? “Rub aging” — gently massaging olive oil or butter around the rind every few days to create a natural barrier and enhance flavor complexity. I initially scoffed at the step (seemed fussy), but the first time I nailed it, the cheese matured smoother than anything I’d made before. Small details, big results.
The Dutch province of Friesland is recognized as a UNESCO World Heritage region for its centuries-old dairy landscapes and cheese culture. Some family farms have used the same pastures and grazing methods for over 400 years! I found this out while interviewing a fourth-generation cheesemaker, who told me their current pastures were once underwater centuries ago — land reclaimed by “polder” (classic Dutch engineering).Savoring even a simple homemade slice, you’re truly tasting history.11
Real Mistakes, New Solutions: Learning from Dutch Farmers
Let’s be real — not every wheel wins an award. My second-ever home Gouda resembled a cracked tennis ball, and that still makes me laugh. But Dutch professionals urge persistence, not performance. Some of their best discoveries came through failed experiments, batch notes scrawled in the margins, and sheer stubbornness.
The biggest secret from Dutch professionals? You’ll learn more from mishaps than from perfectly “by-the-book” batches. Track your process, embrace every result, and compare notes with other home cheesemakers. That’s how real expertise grows.
My advice? Don’t let sourcing “imperfections” stop you. Can’t get Dutch starter? Use a reputable international brand. Rennet unavailable? Try microbially derived options. Don’t treat real-world obstacles as failures — treat them as the Dutch treat an unruly herd: with observation and flexible problem-solving.
Your Mastery Checklist: Sustainable Dutch Cheese at Home
- Embrace the learning curve — perfection comes later (if ever).
- Prioritize sustainable, responsibly sourced milk and reusable tools.
- Track every variable; keep a “cheese log” and compare batch results.
- Turn mistakes into lessons — seek advice from professionals and peers.
- Celebrate quirky, authentic flavors — the mark of homemade mastery.
The soul of Dutch cheese is practical, experimental, and sustainable by design. The pros I’ve learned from all say the same: bring patience, respect your ingredients, and never stop learning with every batch. That’s true Dutch mastery, wherever you live.12
Verweise
Referenzliste